WARDOGS Beginner's Guide: Economy, Loadouts and Your First 10 Hours
WARDOGS beginner guide for Early Access: how the persistent cash economy, per-life loadout buying, and the tick-20 refund rule shape your first 10 hours.
Most shooters teach you map knowledge first and money second. This game inverts that. WARDOGS is built around a persistent cash economy where your rifle, your armor, and your ride are purchased again with every deployment, and where surviving long enough hands most of your money back. If you internalize one idea before your first match, make it this: every life is a budget decision. This guide explains the economy-first mental model, then gives you an honest framework for your first ten hours — written during Early Access launch week, so where live data matters, we tell you what to figure out rather than pretend we have played two hundred matches already.
Why Every Life Is a Budget Decision
The core loop looks like a battle-royale extraction hybrid, but the scoring system is an economy. You queue into a match, spend cash from your persistent bank to assemble a loadout, fight across a 2x2km zone, and either die (losing what you carried) or survive long enough to recover most of your costs. Cash does not reset between matches — the balance you bank tonight is the balance you spend tomorrow.
That single design choice changes how you should think about every decision:
- Dying is not just a round loss. It is the full retail price of the loadout you brought, minus nothing.
- Winning is not just a kill count. It is bringing a loadout cheap enough that survival pays, and expensive enough that you can actually win the fights you choose.
- Aggression has a price tag. Pushing a building for one probable kill makes sense with a budget rifle and is gambling with a premium one.
Players who treat matches like a free-for-all deathmatch bleed cash and wonder why their account never grows. Players who treat each deployment like a purchase order end the week with better gear and more options.
What You Start With: The $10,000 Question
New players begin with $10,000 in starting cash. That is your seed capital for the entire early game, and how you spend the first few thousand dollars of it matters more than any single match result.
We are not going to hand you an exact first-purchase shopping list yet, because prices are live data we are still verifying in-game ourselves — community sites currently disagree on specific weapon costs, which we document in our weapons and vehicles overview. What we can tell you is the principle:
- Your first loadouts should be deliberately cheap. The goal of your opening sessions is to survive to the refund threshold, not to top the scoreboard.
- Keep a cash cushion. If you spend down to zero, a few early deaths put you into poverty loadouts — and poverty loadouts die more, which digs the hole deeper.
- Treat expensive gear as a late-session purchase. Earn your way up to premium weapons; do not open with them.
How the Tick-20 Refund Rule Works
The single most important number in the game’s economy is this: survive to tick 20 and you recover roughly 90% of what you spent on your loadout. Matches run on a ticking clock, and reaching tick 20 alive means your purchases are functionally refunded — the match cost you time, not money.
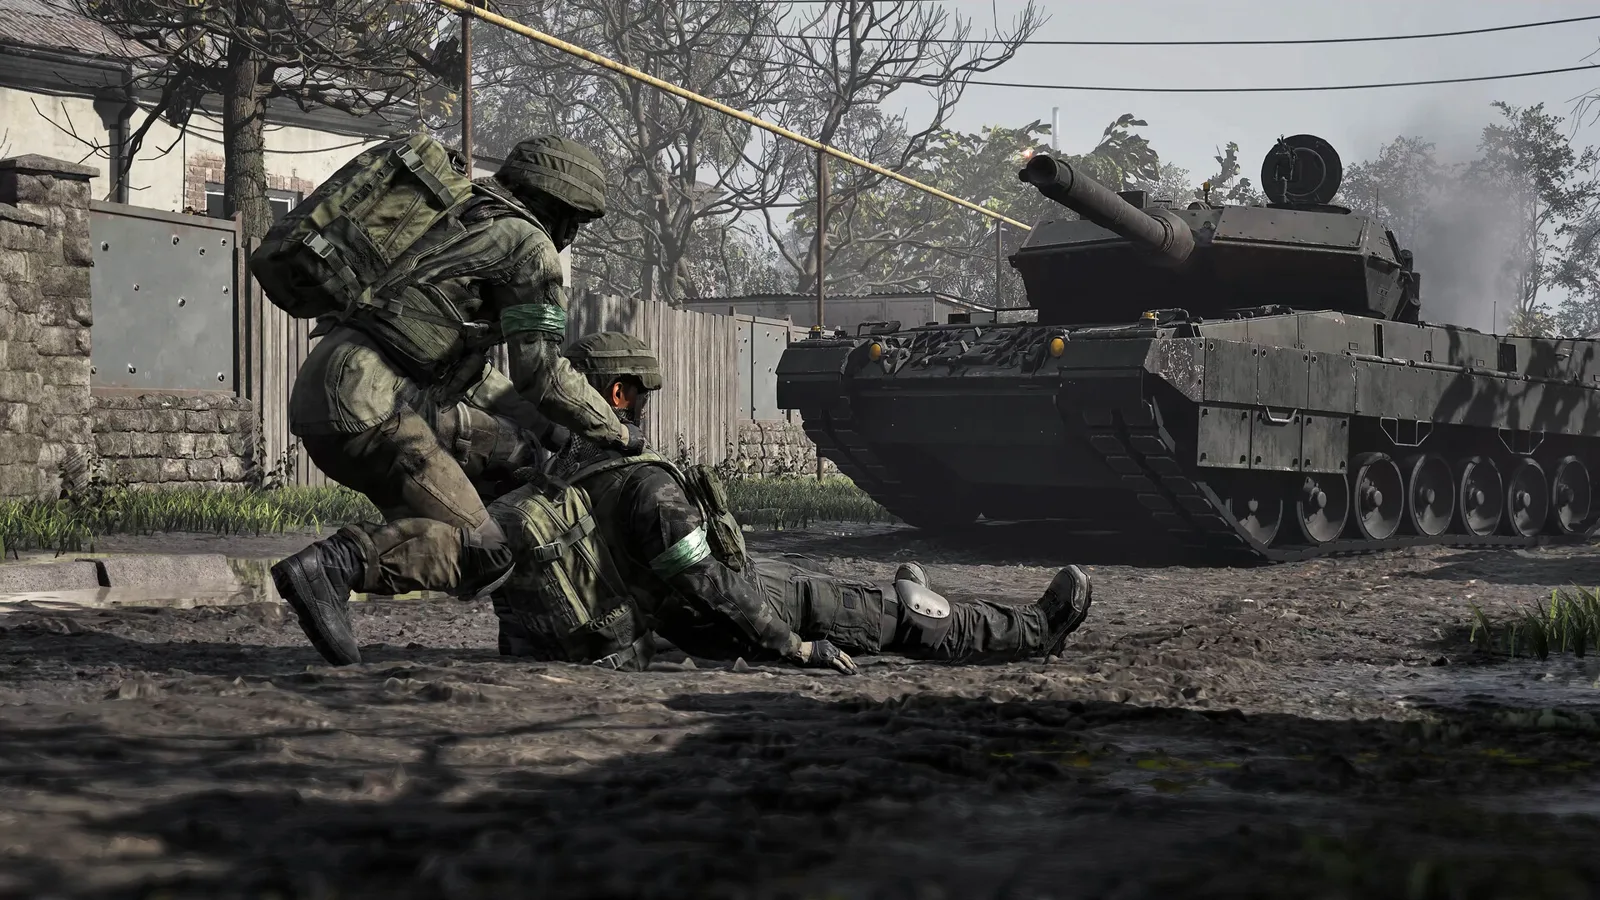 Deaths cost the full price of your loadout — survival pays the refund.
This reframes the entire early game. A passive, cautious player who reaches tick 20 with zero kills comes out economically ahead of an aggressive player who frags three people and dies at tick 12. Kills are bonus income. Survival is the salary.
Practical consequences:
- Early on, play for the clock, not the kill feed. Your first goal in every match is reaching tick 20, full stop.
- Track roughly when tick 20 lands. You will learn the timing naturally within a few matches; knowing it tells you when it becomes rational to stop fighting and start positioning for survival.
- Late-match decisions change completely. Before tick 20, dying costs you money. After tick 20, your loadout is essentially paid for, and extra aggression is playing with house money.
King of the Hill, Three Teams, 100 Players
The match format is a three-team, 100-player King of the Hill fought on 2x2km zones. Three factions, not two, is a meaningful structural difference: when two teams grind each other down over the objective, the third team is the one that decides when and where to commit.
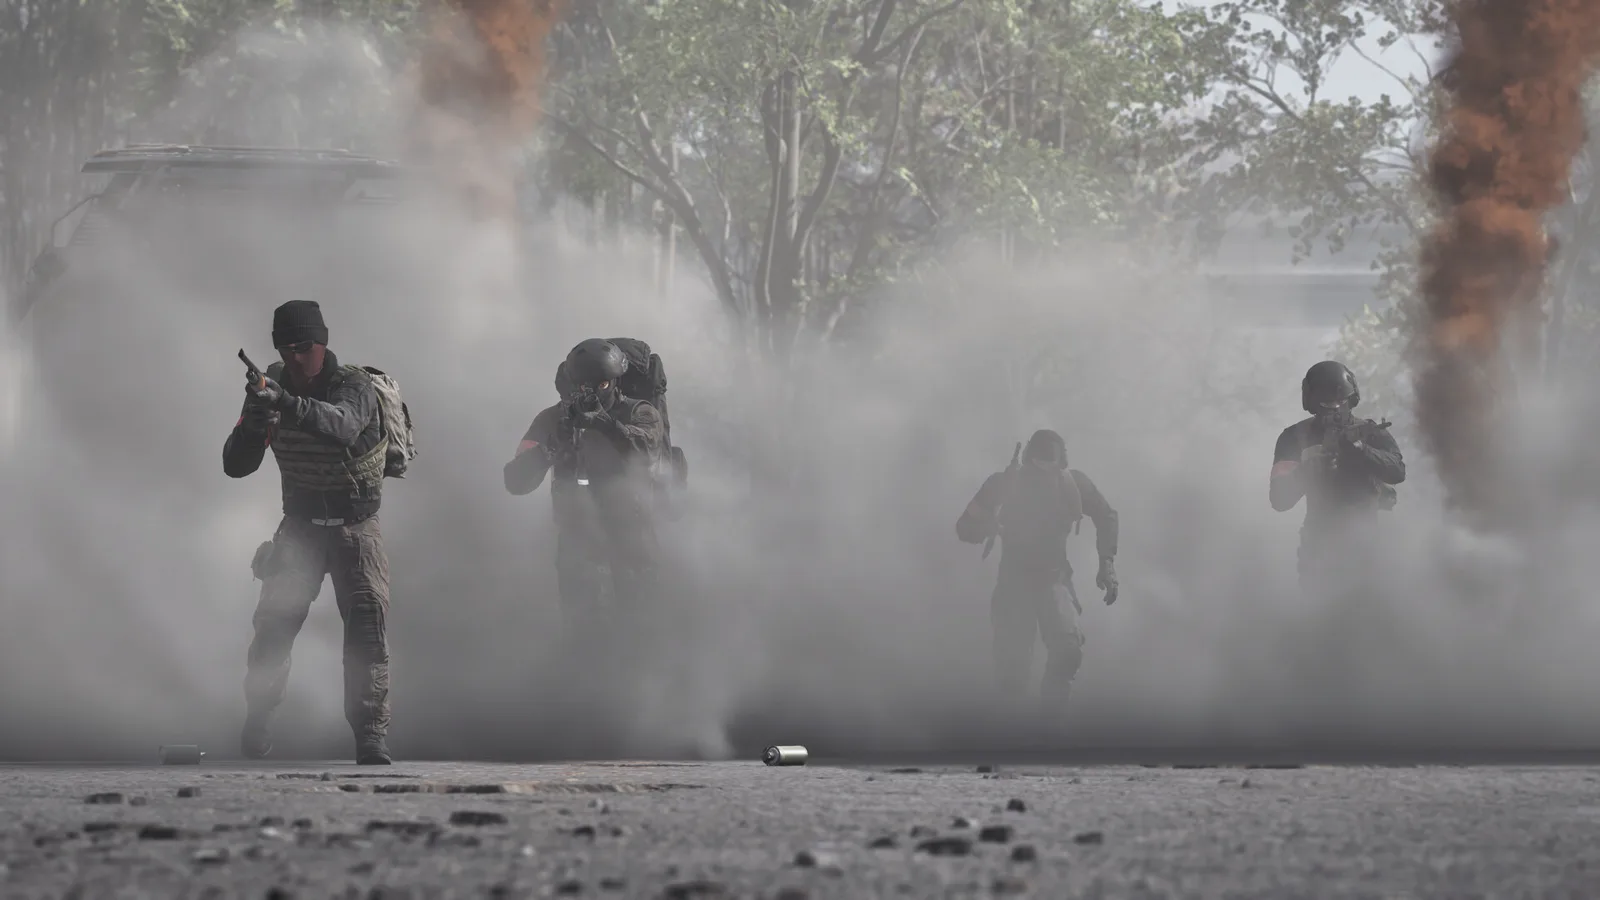 Three teams, one hill. Your squad is four of 100 players.
Beginner takeaways from the format:
- You do not need to win the objective to profit. The refund rule rewards survival to tick 20 regardless of which team holds the hill. Objective play is how your squad contributes; it is not the only path to a positive evening.
- Third-partying is geometry, not dishonor. With three teams on one hill, the meta naturally rewards letting two opponents bleed before you engage. As a beginner, the winning move is often to not be there yet.
- The 2x2km map size means travel time is real. Budget minutes, not just dollars. Long rotations across the zone eat the clock you are playing against.
Your First 10 Hours: A Framework, Not a Script
Launch-week guides that promise an exact drop route or a specific best gun are usually guessing. The map, prices, and meta will shift through Early Access. Here is the framework we recommend instead — structured by what each phase of your first ten hours should teach you.
Hours 0–2: Learn the loop with the cheapest loadout that functions
Queue in with budget purchases and one objective only: reach tick 20 once. Do not chase kills, do not experiment with expensive gear. You are training the survival habit and learning the match rhythm — when the tick lands, how long rotations take, how fights start. If you die early twice in a row, halve your loadout cost, not your caution.
Hours 2–5: Learn the map’s geography at walking pace
A 2x2km zone is big enough that where you are matters as much as what you carry. Use these sessions to learn the shape of the map: where cover corridors run, which areas pull early fights, where the objective pressure funnels teams. Note positions that let you disengage. This is knowledge no guide can hand you — it has to be walked in, and it is worth more than any single weapon purchase.
Hours 5–8: Add one weapon class at a time
Once survival is routine, start spending slightly more per life and test one new weapon type per session. Change one variable at a time so you can actually attribute results. Our weapons and vehicles page tracks the confirmed launch arsenal and the price-verification work; use it to plan purchases rather than trusting the first price number you see on a community site.
Hours 8–10: Play the economy, not just the match
By now you should have a feel for your break-even loadout cost — the spend level where surviving to tick 20 reliably nets positive. Start the session by deciding your budget for the night, and scale loadout price up only while you are cash-positive. This is the habit that separates players who always have money from players who are always broke.
Spending Rules That Save Runs
- Set a per-life budget before you queue. Deciding in the loadout screen, not mid-match, prevents tilt-spending after a bad death.
- Never buy premium gear on a losing streak. The refund rule pays you back for survival; it cannot save a loadout you keep dying in.
- Bank your wins literally. Cash persists between matches, so a disciplined night of tick-20 survival is permanent progress — there is no weekly reset eating it.
- Re-evaluate prices after every patch. Early Access means balance and economy changes land frequently; a loadout priced right last week can be mispriced this week.
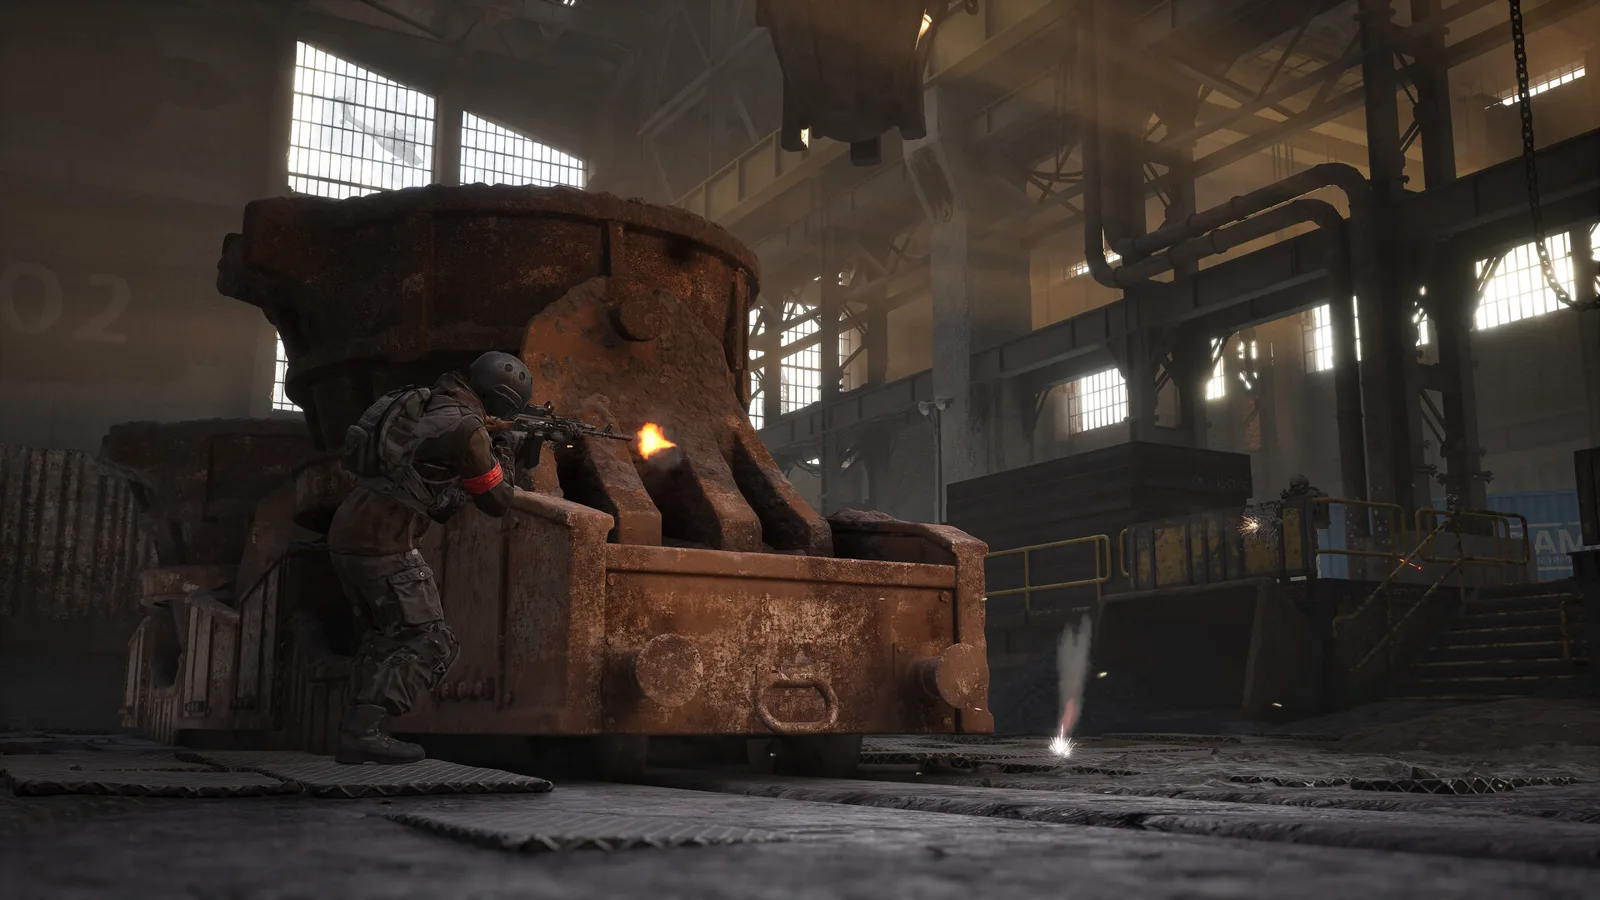 Vehicles are budget decisions too — an APC you cannot keep alive is a donation.
Common New-Player Mistakes
- Buying the most expensive option first. The $10,000 start feels like a lot until two full-price deaths cut it in half. Earn premium gear with survival streaks.
- Ignoring the clock. Players who die at tick 15 lose everything; players who disengage and hide for the last stretch get 90% back. Boring, and correct.
- Treating deaths as free. In most shooters, respawning costs nothing. Here it costs exactly what you paid to spawn. The scoreboard does not show this; your balance does.
- Skipping settings work. Frame drops and input lag kill more early runs than enemy players do. Run through our PC settings priorities before grinding — it is ten minutes that pays for itself every match.
Fixing Launch Problems and What to Read Next
If the game will not start or Easy Anti-Cheat throws errors during your first install, work through our EAC and launch-failure fixes before troubleshooting anything exotic — the overwhelming majority of launch-week failures are EAC-related and fixable in minutes.
From there, our console and crossplay status page answers the platform questions, and the full guides index collects everything else as the site grows. We update economy numbers and loadout advice as Early Access patches land — the honest numbers, stamped with the build they were verified on, not launch-week guesses frozen in time.
See you at tick 20.
Screenshots © Bulkhead / Team17, from the official WARDOGS Steam store page.
Related Articles
fixes
WARDOGS Easy Anti-Cheat Errors and Launch Failures: Working Fixes
Fixes for WARDOGS Easy Anti-Cheat errors and launch failures: verify files, repair EAC, add firewall and antivirus exceptions, update GPU drivers, clean reinstall.
guides
Is WARDOGS on PS5, Xbox or Game Pass? Console and Crossplay Status
Is WARDOGS on PS5, Xbox, or Game Pass? Current console and crossplay status for the September 2026 Steam Early Access launch, updated as announcements land.
settings
WARDOGS Best Settings: What to Change First on PC
The WARDOGS settings that actually matter on PC: raw input, FOV, display mode, netcode telemetry, and frametime stability — in the order to change them.
Was this helpful?
Thanks for the feedback!